DIY Easter egg place cards with bakers twine
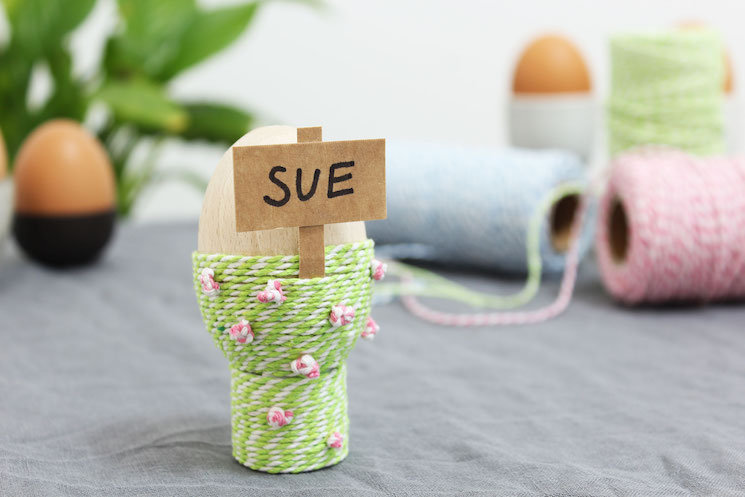
Check out this easy tutorial and make personalised Easter Egg place cards
For lots of families, Easter is the first chance to spend some quality time together since Christmas. The long weekend is the perfect opportunity to catch up with friends and family that you don’t see as much as you’d like.
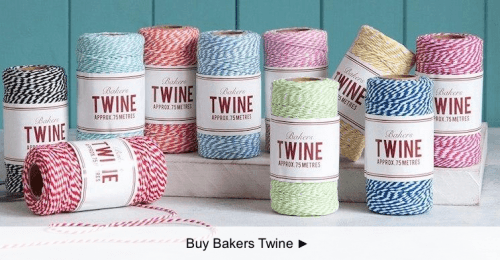
With this in mind, why not plan a celebratory Easter lunch and surprise your guests with a personalised Easter Egg place card? We asked Mike, the Crafty Gentleman, to create a simple tutorial using our new bakers twine - there are lots of colours to choose from and we think you’ll agree - the end result is fantastic!
You’ll need:
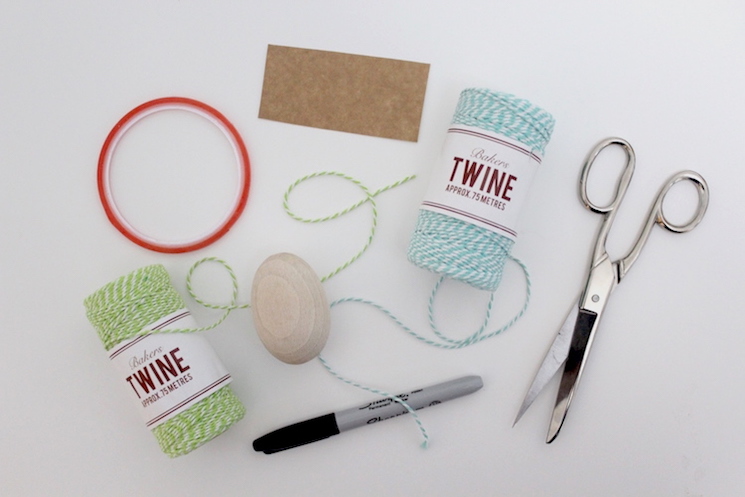
- Green bakers twine (for the grass)
- Coloured bakers twine (for the flowers)
- Double-sided sticky tape
- Wooden or papier mache eggs
- Brown card
- Scissors
- Marker pen
How to make it:
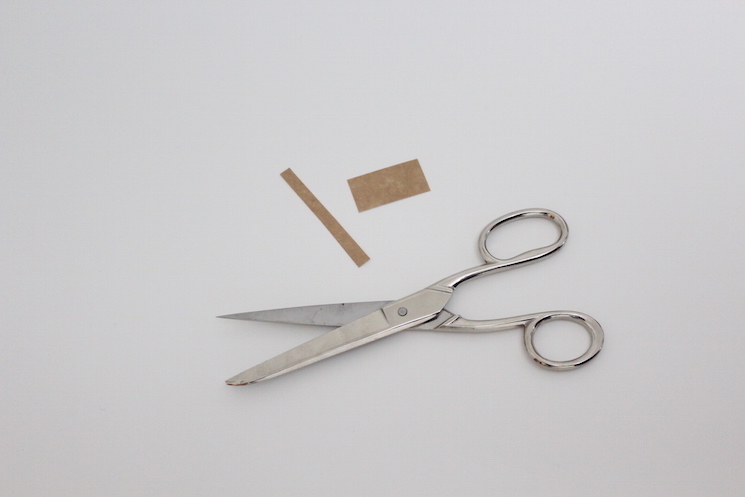
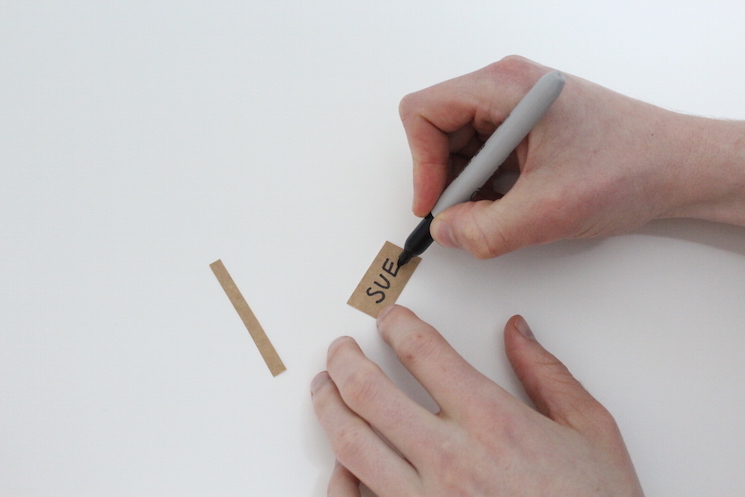
Step 1: Take the brown card and cut it into two rectangles: one measuring approximately 5cm x 0.5cm, the other measuring approximately 2cm x 4cm.
Step 2: Using a marker pen, write your guest’s name directly onto the larger piece of card.
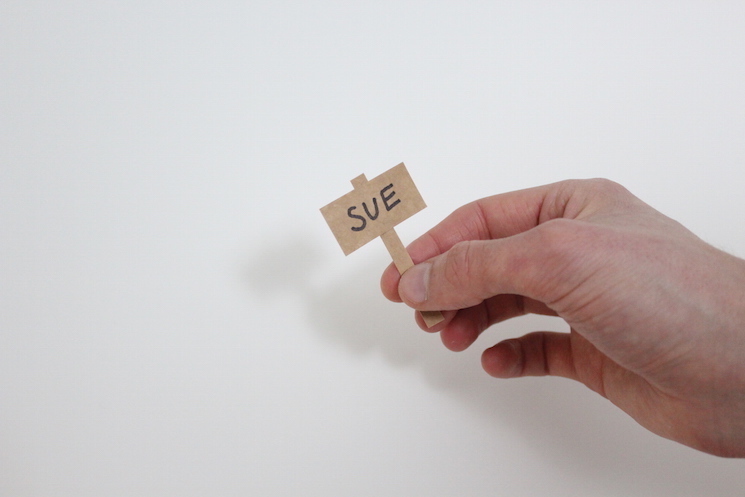
Step 3: Using a small piece of double-sided tape, stick the two pieces of card together so it looks like a little garden sign.
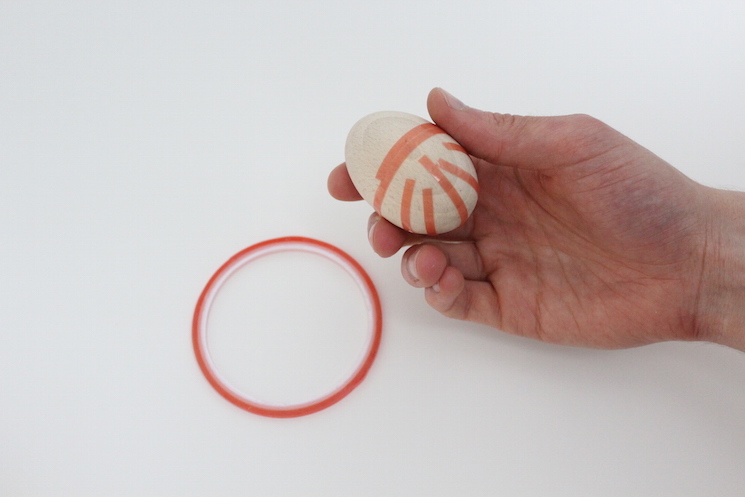
Step 4: Take your wooden or papier mache egg. Wrap a length of double-sided tape around the centre, then add some smaller pieces to the bottom half of the egg. Ensure you put plenty of tape on, as this will make the next steps much easier!
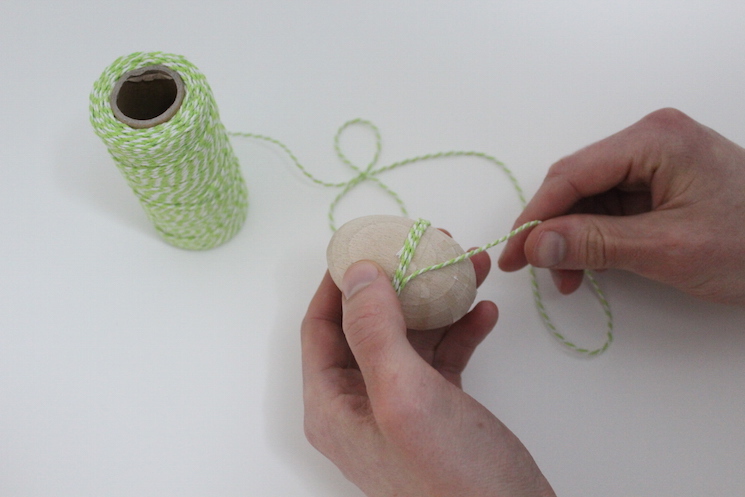
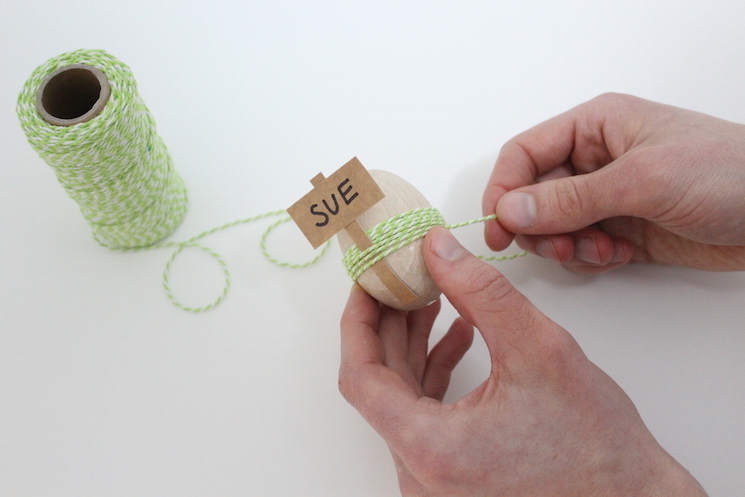
Step 5: Starting in the centre, stick the end of your green bakers twine to the egg and start wrapping it around. Each time you wind it round, try to keep the layers of twine as close together as possible.
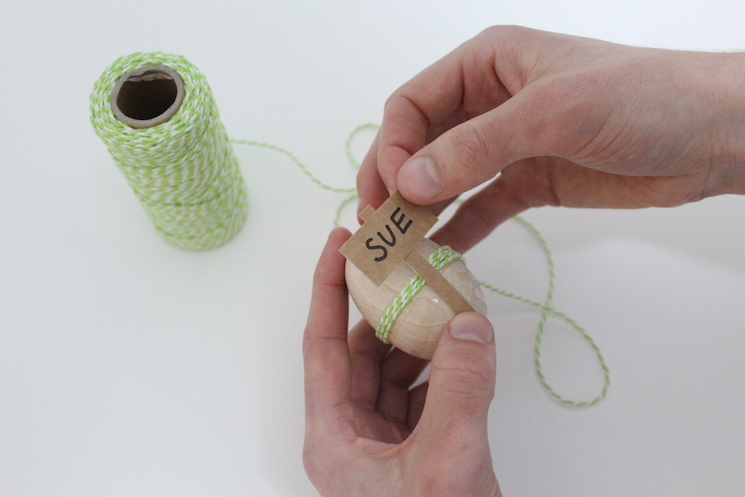
Step 6: Once you have added 3 or 4 layers of green twine, stop wrapping it for now. Place the card name onto the egg. Position it so that it sticks above the top of the green twine by a small amount (you want it to look like a wooden sign in a garden or vegetable patch!). Press it down onto the tape you’ve already applied, so that it sticks in place.
Step 7: Continue wrapping the green twine, over the top of the base of the wooden sign
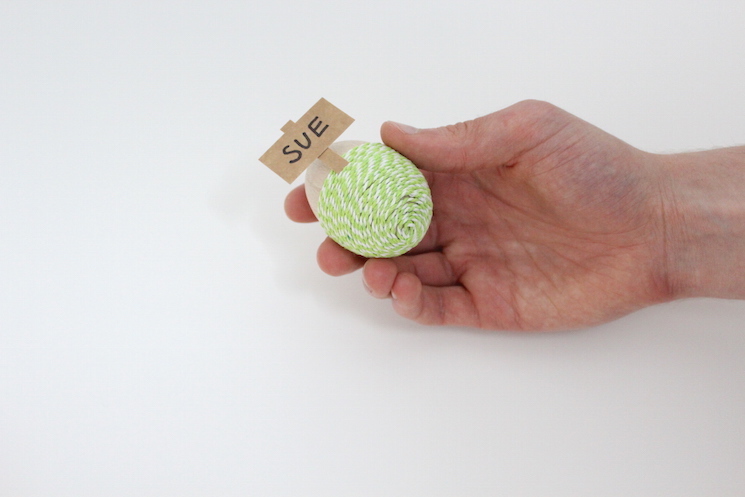
Step 8: When you get the very end (i.e. the bottom of the egg), cut the twine and stick the end down neatly to the base of the egg.
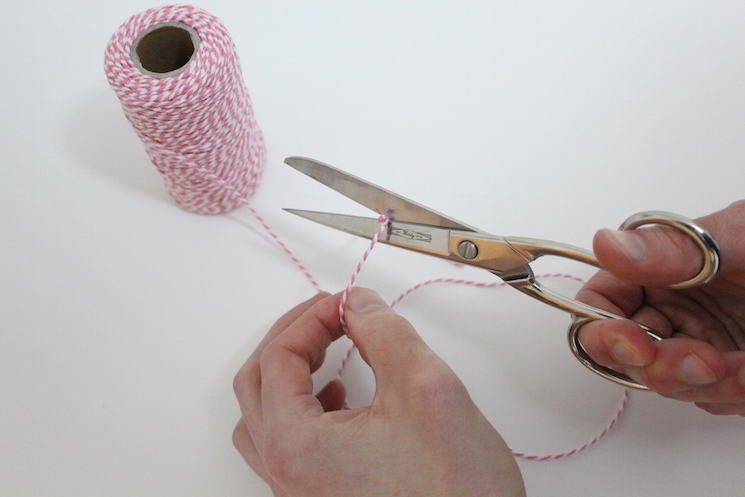
Step 9: OPTIONAL: To add an extra touch of personality to your DIY twine Easter Egg place cards, you can add some flowers in your guest’s favourite colours! Simply tie a small double knot in the bakers twine colour of your choice. Cut this knot off and use a small piece of double-sided tape to stick it to the green twine. Simple! You could even use multiple colours of flowers on the same egg, for an extra colourful decoration.
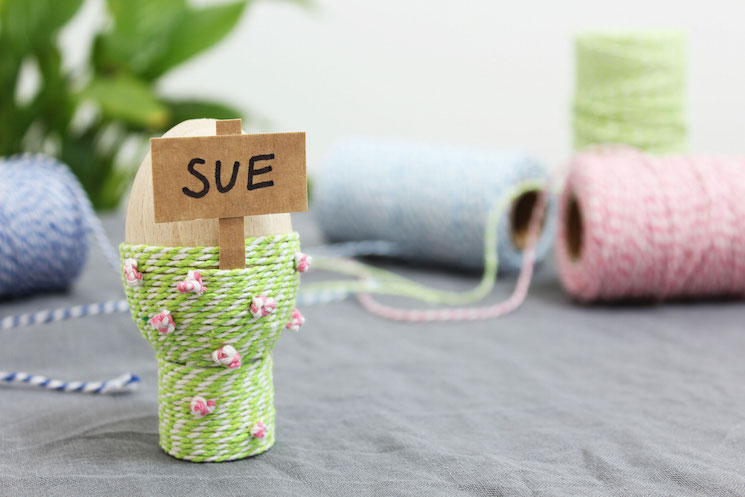
Step 10: To display your DIY Easter Egg placeholders, you could lay them flat so the name faces upwards. This would look great on top of a nice dinner plate if you’ve got guests coming round for an Easter dinner! Alternatively, you can make a little stand by cutting out a long rectangle of card. Roll it into a cylinder (approximately 2cm in width) and stick it down with tape. Then simply cover it in green baker’s twine, in the same way that you decorated your egg.
These DIY Easter Egg place cards are really easy to make, but they’ll add a nice personalized touch to your Easter weekend!
If you give these Easter Egg Placecards a go over the new few months, we'd love to see the take on them. Also, if you have any quirky Easter DIY crafts that you, or your family will be creating, be sure to send them over to our Facebook page.
