4 easy DIY bookmark ideas
By Little Button Diaries
These bookmarks are the perfect quick craft project for little bookworms. We show you how to make four different styles - an origami bunny bookmark, a tasselled bookmark, a window bookmark and a magnetic bookmark. Pick your favourite or make them all to celebrate National Stationery Week!

Origami Bunny Bookmark

We’ve chosen a bunny for this simple origami bookmark, but you could turn it into any animal you wanted. Make sure you press the folds down well for the best results.

You will need:
- White and pink card or paper
- Glue
- Colouring pens
Step 1: Cut a square of card measuring 12cm. Fold in half to create a triangle, pressing the fold down well.

Step 2: Fold the two equal corners of the triangle in to meet each other, forming a square.

Step 3: Open the triangle back out. Fold the top flap of card over to meet the bottom.

Step 4: Re-fold the corners back up and tuck into the flap.

Step 5: Turn to the other side and use scissors to round off the unfolded corner.

Step 6: Cut a pair of ears from pink card, and inner ears from white card. Glue together, then glue onto the folded side of the book mark on either side of the corner.

Step 7: Draw on a happy bunny face. Then you can repeat to make one in contrasting colours for your bestie!

Tasselled Bookmark
This vibrant bookmark is easy to make and is a great way to use up odds and ends of wrapping paper. Next time you wrap up a present, keep the off cuts of paper ready for this project.

You will need:
- Card
- Colourful wrapping paper
- Glue
- Twine
- Hole punch
Step 1: Cut a piece of card measuring about 5cm x 15cm. Carefully fold the wrapping paper around it, then seal with glue at the back.
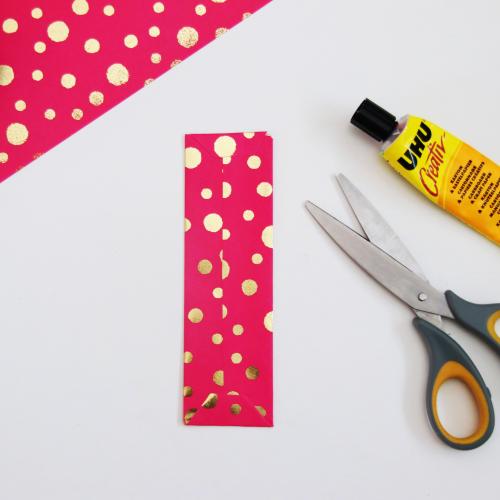
Step 2: Add a hole at the bottom with a punch.
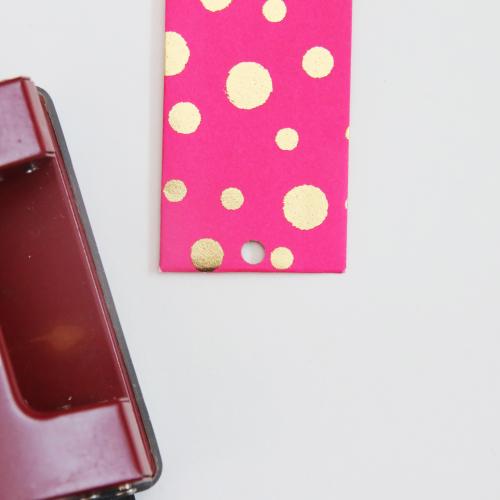
Step 3: Wrap twine around 4 fingers about 20 times. Peel off and tie to secure near one end, then cut through the loops at the other end to make a tassel.

Step 4: Push another piece of twine through the top of the tassel and tie it onto the bottom of the bookmark.

Window Bookmark
This is a simple craft that involves sandwiching paper cut prints into sticky back plastic. If you don’t want to use a cutting knife, you can use scissors to cut through the patterns to any interior holes - these cuts will seal back up again when pressed onto the plastic.

You will need:
- Print wrapping paper, we picked this Tropical Palm wrapping paper
- Sharp scissors
- Cutting knife (optional - see introduction)
- Coordinating card
- Sticky-back plastic
Step 1: Begin by choosing a nice bold print on some wrapping or decoupage paper. Use sharp scissors to cut out some of the images or patterns within the print.
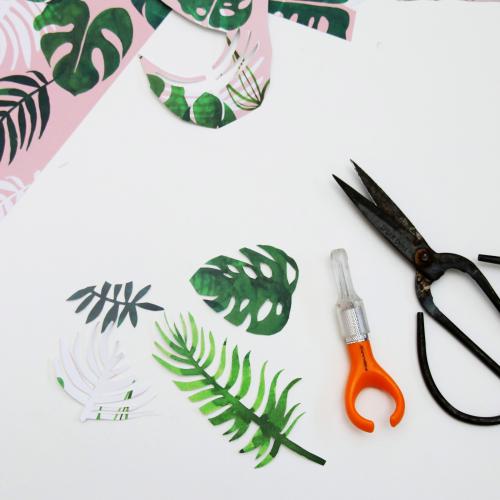
Step 2: Cut out a rectangle of card measuring about 6cm x 20cm. Then draw a 1cm wide border all the way around the inside and cut out using a knife or scissors - if you use scissors you can just cut through the border, it will be sealed together again.
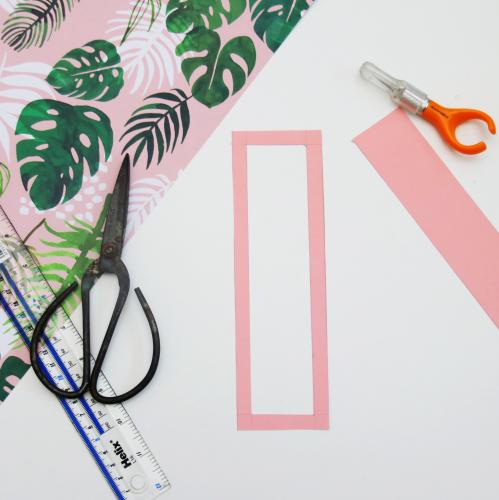
Step 3: Arrange the cut-out shapes within the frame to get an idea of what pattern you want for your bookmark. Then remove the shapes and place the card onto a piece of sticky back plastic and press down.
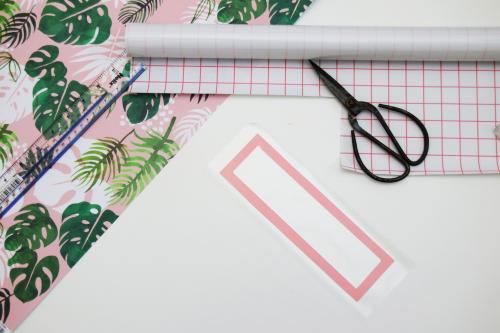
Step 4: Press the shapes onto the plastic within the frame - you will need to do this in reverse, so place them face down with any shapes you want at the top going on first. Trim any paper that go over the frame.
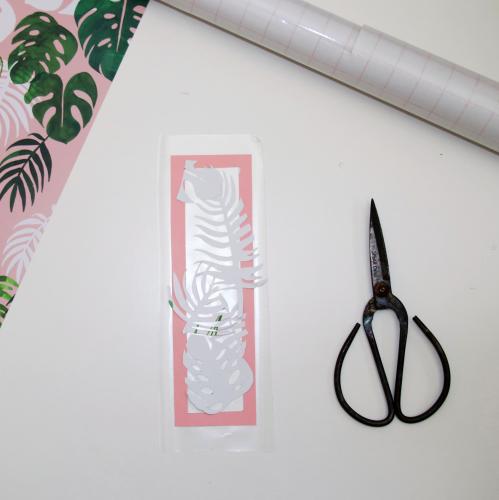
Step 5: Carefully place another piece of plastic on top, starting from one end and gradually moving down the bookmark to avoid bubbles.
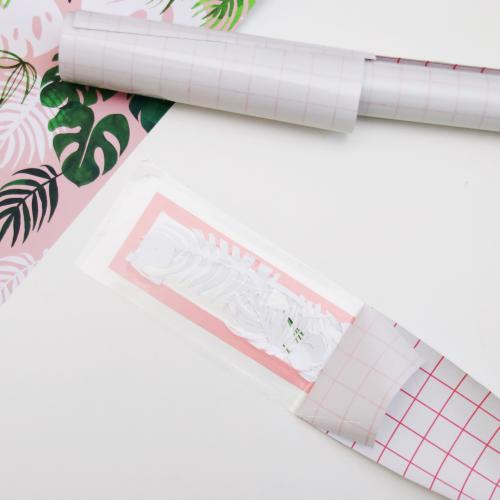
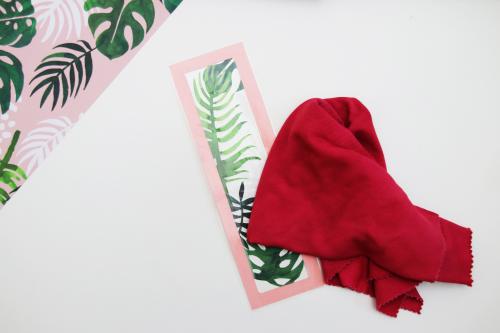
Step 6: Trim the excess plastic, leaving a few millimetres to keep the bookmark sealed. Smooth over the front of the bookmark with a soft cloth to fully seal it together.
Magnetic Bookmark
This genius little bookmark not only saves your page but also where you got to on the page!

You will need:
- Self adhesive magnetic sheet
- Scrap of card
- Washi tape, we used this Magical Unicorn print
Step 1: Begin by drawing a rectangle on a scrap of card measuring about 12cm x 2cm in pencil. Add a triangle on one end and cut this out.

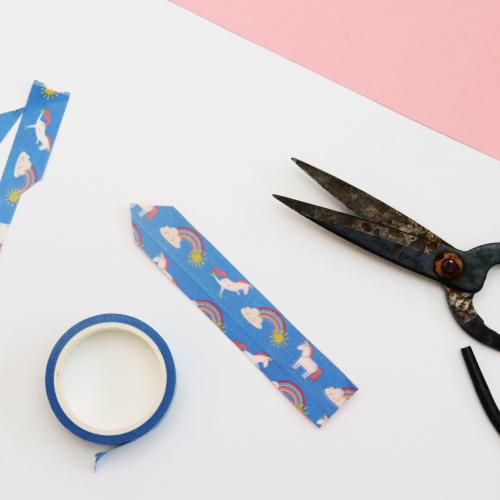
Step 2: Carefully cover the card in washi tape on one side. Trim the excess.
Step 3: Fold the bookmark in half widthways, with the tape on the outside. Cut two rectangles of magnetic sheet and press onto the wrong side of the bookmark, with a little gap in the centre so that it will still fold easily.

Step 4: Trim the magnet to the size of the bookmark, and you are all finished! Fold around the page in your book to mark it. You could make a bunch of these quickly and easy for all your friends.

We hope you enjoy making these bookmarks! Browse our full stationery collection if you're looking for materials for your next craft session.

